You'll need
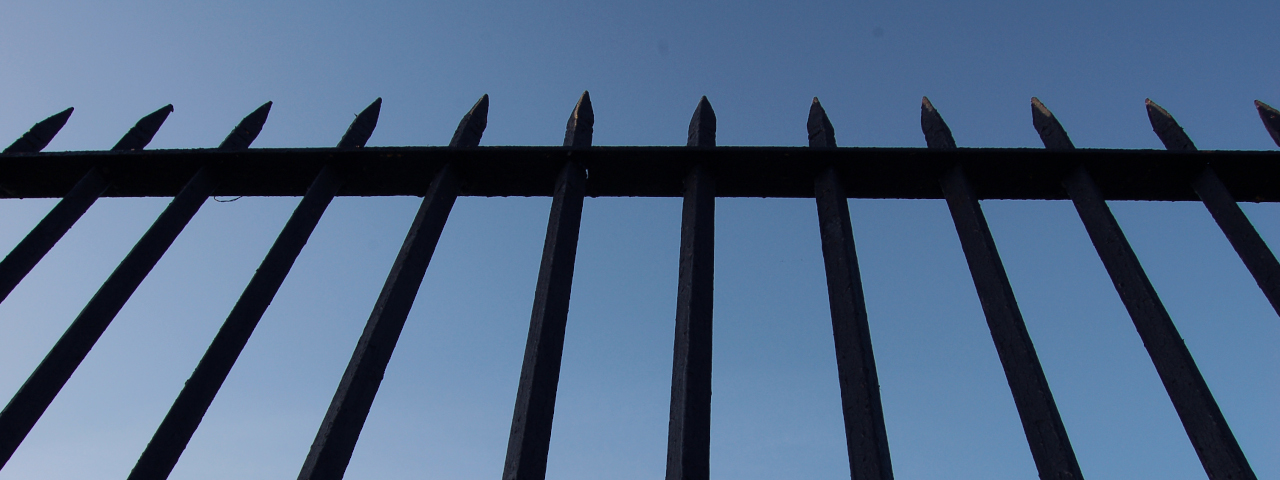
Spade, tape measure, spirit level, welder and rods, protective welding gear, string line, concrete mix, spacers (wood or metal), 2,4 m high square tube posts and corner posts (76 x 76 x 1,6 mm), Cashbuild’s pre-manufactured palisade panels, hacksaw, metal flat bars (optional).
Measure up
Measure your boundary (or the line where you want the fence) as accurately as possible. Divide the total meterage by 3,080 to get the number of palisade panels you’ll need (round up rather than down). To get the total number of posts you need, draw a plan of the fence, taking note where a panel might need to be cut to make up the length – you’ll need a post at each end of a panel or panel section, plus at gateways and on corners. To create curves you’ll need to use shorter lengths of panels with posts between them.
Tip: The 3,080 m is made up of the 3 m length of Cashbuild’s premanufactured palisade panels, a 76 mm square post and a 2 mm gap for welding.
Dig in
Starting at the gateway/s, dig square holes along the boundary about 300 x 300 mm and 500 mm deep for each post, spacing them at 3 080 mm intervals. The holes will be considerably bigger than the posts so that they have enough space all around for the concrete mix. If the ground is very soft, dig down to solid ground if possible then fill the hole with concrete to the required 500 mm level
Borrow a hand
Start with the posts at each end of a section of fence. Make sure the posts are on the line where you want the fence. You will need someone to help you set the posts. Use a spade to put a small amount of concrete mix in the bottom of each hole then place a post in it.
Level the post on the front face and the side face with a spirit level. Keep checking the level of the posts while your helper adds more concrete mix to fill the hole.
When the two end posts are level allow them to set for about two hours. Tie a string line between the two posts about halfway up. Make sure the line is taut because it’s your guide for straight placement of the posts between the end posts
Set the rest of the posts, levelling them as before. Make sure the front face of each post touches the string line. When done go back over each post and check the levels again before leaving the concrete mix for up to two days to harden fully.
When the concrete has set you can begin mounting the panels. Starting with the first panel, rest the middle on a spacer to avoid sagging (or add a permanent additional anti-sagging leg for support).
When the panel is at the correct height weld the rails to the posts. You might find it easier to weld a metal flat bar to the post then weld the panel to the bar. Keep checking the levels to make sure the panels are straight and level.
Tip: Gaps of up to 2 mm between panels and posts can be filled using weld material. Larger gaps will require a short length of flat bar.
- Call Cashbuild on 0860-100-582 or visit your nearest Cashbuild store to find the best product for your property.


