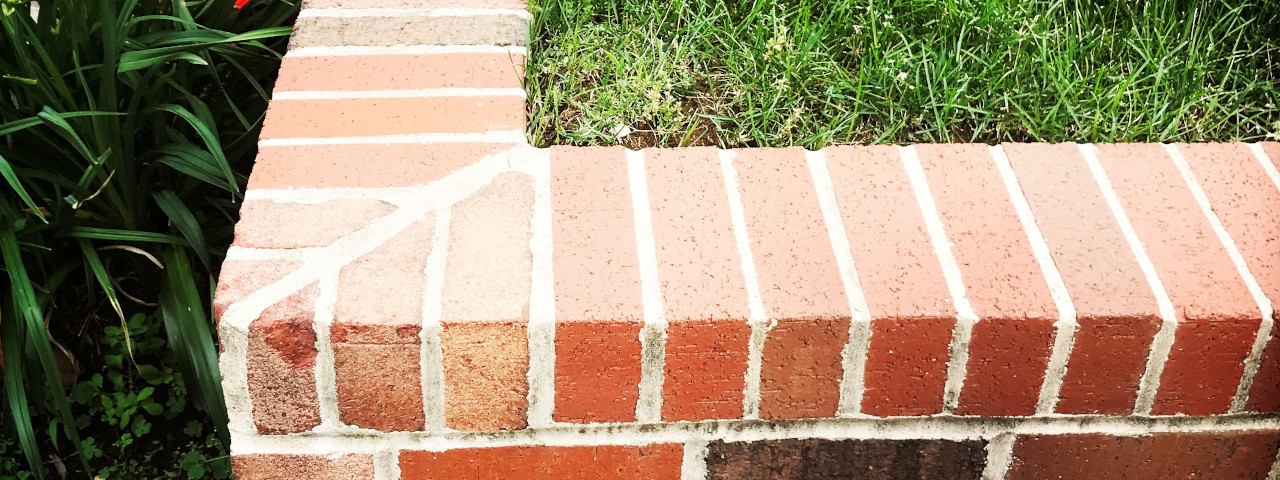
Follow Cashbuild's easy steps to build a brick wall to tidy and protect flowerbeds
You'll need
Trowel, spade, string, wooden stakes, hammer, spirit level, tape measure, brush, rake/ concave joiner (optional), bricks (standard size), cement and sand (1:6 ratio), mortar mixture, plank
Step 1
Stake it out
Mark the position of the new flowerbed wall by knocking wooden stakes into the ground with a hammer. Run a string around the stakes to use as a guide for the top of the first row of bricks - use the spirit level to make sure it's horizontal
Step 2
Dig the foundation
Dig a trench 150 mm deep and at least 250 mm wide for a wall that's 500-600 mm high (pic A). Ensure the foundation is level, digging down deeper on one end if necessary. A foundation that isn't level will result in a wall that isn't straight.
Step 3
Lay the foundation
Multiply the width of the trench by its length then by its depth to calculate the volume in cubic meters of cement mixture needed for the foundation. To make the foundation use 1 part cement to 6 parts sand and mix according to the package instructions. It should have the consistency and texture of soft butter. Fill the trench you created in Step 2. Smooth the top with a plank. Allow the concrete to set for five days.
TIP: The mixture is likely to harden within an hour so use it as soon as you've mixed it.
Step 4
Do a dry run
Lay down your first row of bricks without any cement for an indication of how your wall is likely to look and the exact layout of the bricks.
Step 5
Add the mortar
Mix the mortar according to the package instructions. Remove the row of bricks you placed in Step 4. Using a trowel, apply mortar to the bottom and one end of the first brick (pic B), lay it in place (pic C), then repeat with the next brick, allowing excess mortar to squeeze out. Scrape off excess mortar as you lay the bricks.
TIP: Place a modest amount of mortar on a board and refill as you work.
Step 6
Build it up
Raise the string on the stakes to mark the level of the second row of bricks. Stagger the bricks on the second row so the joins between bricks on the two rows don't line up. Turn the bricks sideways at the ends for extra strength. Repeat this process with the remaining rows. Keep scraping off excess mortar before it hardens.
Step 7
Neaten the edges
Use a rake/concave joiner to neaten the mortar between the bricks. Use a brush to get rid of excess mortar and dust.
How many bricks?
Divide the length of the wall by 227 mm (the length of a standard brick plus 12 mm for the mortar join) to give you the number of bricks per row. Divide the height of the wall by 87 mm (the height of a standard brick plus a 12 mm mortar) for the number of rows. Multiply the number of bricks in a row by the number of rows and you have the number of bricks needed.
Call Cashbuild on 0860-100- 582 or visit your nearest Cashbuild store for a wide range of bricks. Friendly consultants are on hand seven days a week to help and advise you on the best products to use.