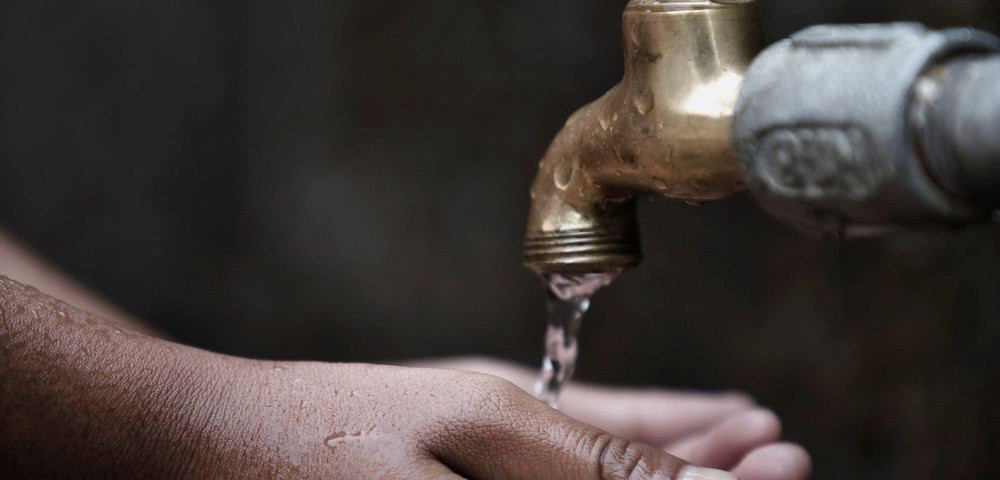
Follow Cashbuild's easy tips on installing an outside tap at home
You'll find everything you need for the job under one roof at Cashbuild – from tools to plumbing accessories. You'll also receive expert advice from the staff who'll help you impress everybody with your DIY skills.
Tip The installation could be finished in an afternoon, provided you have all you need at hand. Before you turn off the water supply make sure you fill your kettle and consider running a bath so you can scoop water from it to flush the toilet while the water supply is off. Once the water main is off, open the cold tap at your sink until the water stops running and the pipes are empty.
What you need
Tape measure, power drill, 7 mm masonry bit, garden tap set (back plate and tap), washers, PTFE (thread seal) tape, pipe cutter (or hacksaw, metal file and coarse sand-paper), adjustable wrench, adjustable spanner, 15 mm copper pipe, compression T-connector, tube straps, masking tape, pencil, hammer, wall plugs and screws, screwdriver, expanding foam filler or sealant.
What to do
Step 1:
Find the cold water pipe on the outside of your home that supplies a cold tap inside your home. Make sure the pipe has enough freedom of movement so you can manoeuvre it to insert the compression T connector.
Step 2:
Turn off the water supply at the mains. You'll be cutting the water pipe to install the connector so you don't want water getting in your way - and going to waste.
Step 3:
Measure the connector's length against the outlet pipe before cutting the pipe. Make sure the connector will fit snugly against the wall so your new tap will be vertical and flush with the wall. Use a pipe cutter or a hacksaw to cut the main outlet pipe.
Note: The end of the pipe will need to be smoothed if you've used a hacksaw. Use a metal file and finish off with sandpaper.
Step 4:
Wrap PTFE tape around the exposed ends of the pipe before connecting the compressor T-connector to the pipe. The connector will ensure water flow to both the internal cold water tap and your new garden tap.
Step 5:
Fit a short length of pipe vertically into the compression T-connector. It's recommended you position an outdoor tap at least 250 mm above the damp-proof course. secure the pipe to the wall with tube straps.
Tip Stick masking tape onto the wall where you want to position the tube straps. Use a pencil to mark the holes before drilling them.
Step 6:
Use masking tape and the pencil in the same way to mark the spot where the back plate of the tap will be positioned. Drill the holes, insert the wall plugs, position the back plate and screw in tightly. Insert washers into the tap. Wrap PTFE tape around the thread of the tap before screwing it into the back plate.
Tip Make sure the washers are securely in place to prevent future leakage.
Use tube straps to secure the pipes to the wall to stop them vibrating or knocking against the wall. Fill the space between the back plate and the wall with an expanding foam filler or sealant. Finally, turn the water supply back on and check for leaks. Tighten any joins if necessary.
Visit your nearest conveniently located Cashbuild store for more easy home plumbing and DIY solutions to help make your house a home. For more information call the Cashbuild Customer Care line on 0860-100-582.


