Build a simple, compact bookcase with step-by-step instructions from Cashbuild
Visit the nearest store where you'll find advice and all the tools and materials you need to build this space-saving bookcase.
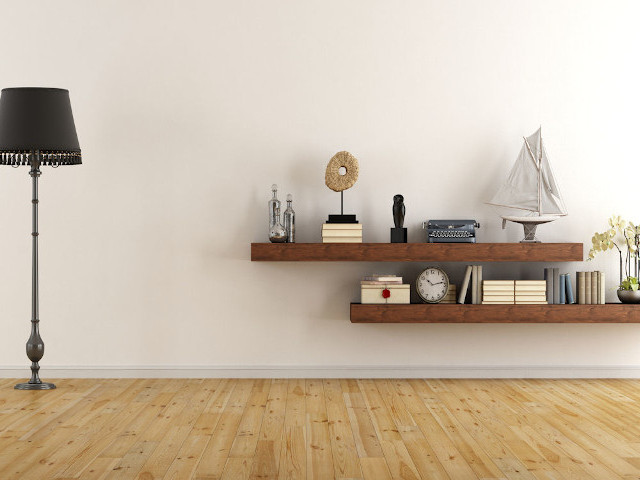
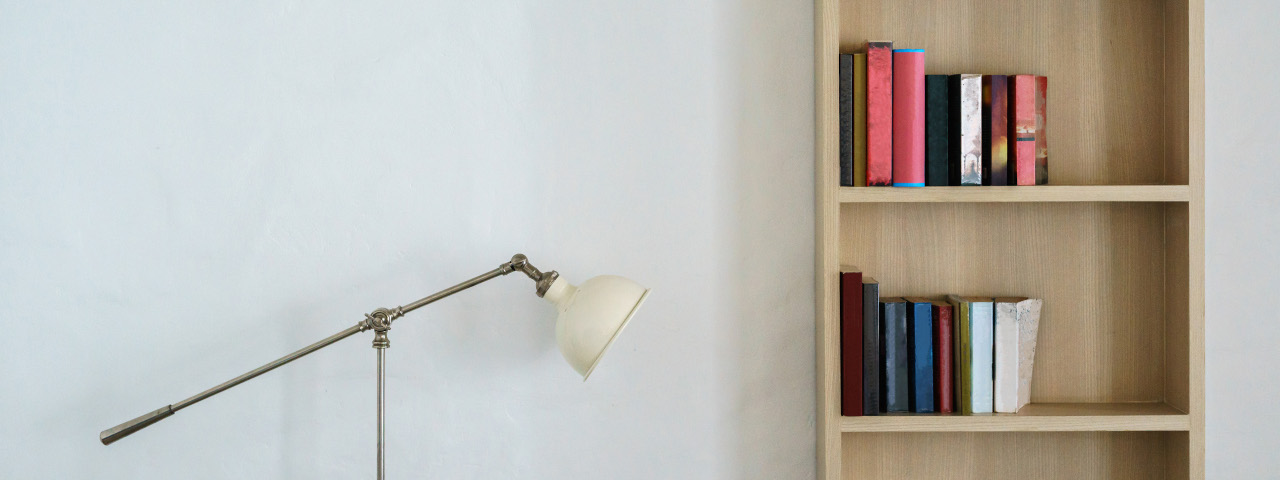
A compact bookcase that provides up to three square metres of shelf space (including the top) while taking up less than one square meter of floor space. Pine is used - it can withstand lots of wear and tear and is easy to stain or paint in a colour of your choice to fit in with the rest of your home.
Use our measurements or adjust them to suit your needs. A friendly Cashbuild staff member will help you with buying the right amount of wood if you're changing the size.
Tools
Safety goggles (use while grouting and drilling), pencil, tape measure, spirit level, screwdriver, 6,35 mm wood screws, 35 mm spade bit, C clamps, electric drill and bits, 40 x 2 mm nails for fastening the Masonite back, 120 grit sandpaper (plus finer paper if you want a smoother finish), stain and varnish (or primer and paint)
Wood
- 19 mm thick pine cut to these sizes: 1 piece 889 x 356 mm (top), 2 pieces 356 x 1 200 mm (side panels), 3 pieces 851 x 356 mm (shelves)
- 3,2 mm thick Masonite board cut to 889 x 1 050 mm for the bookcase backing
TIP
Decide beforehand which books or objects you'll place on the shelves so you know how far apart to space the shelves. For instance files require deeper shelves than novels. If you're not sure how you'll use the bookcase, space the shelves equally.
STEP 1
Working on the outside of the side panels mark three vertical lines on each panel in pencil: 60 mm from the back and front of each panel and one halfway between the two. Draw a horizontal line about 40 mm above the bottom of each panel (on the inside and outside); this is where you'll attach the bottom shelf. Draw matching horizontal lines where you want the other two shelves (see Tip).
STEP 2
Doublecheck all the markings before drilling and check the holes before assembly. Use the drill fitted with the 35 mm spade bit to drill holes where the vertical and horizontal lines cross - this countersinking will help you drive in the screws neatly when you start assembling the unit.
STEP 3
Put the top shelf (889 x 356 mm) upside down on a clean work surface. Attach each side panel carefully, first by gluing it to a 356 mm side of the top shelf and clamping it, then securing it with three 6,35 mm wood screws (each side) in countersunk holes made as above.
STEP 4
Starting at the bottom, attach each shelf. First glue it in place using the marked lines as your guide and clamp it. Then drive three screws through the countersunk holes in each side panel into the shelf.
STEP 5
Turn the bookcase upright and use the spirit level to double check the shelves are straight.
STEP 6
Align the Masonite to the back of the bookcase, making sure the top and sides fit flush. Use the 40 x 2 mm nails to secure the backing.
Tip: Don't worry if little bits stick out - they'll be smoothed away during sanding.
STEP 7
Sand the bookcase to a smooth finish using sandpaper with progressively finer grit.
Décor tips
- Add a decorative strip of wood along the front of the bottom shelf if desired (see photograph).
- Stain the wood and varnish it or paint it with primer followed by a top coat in a colour of your choice.
Ask at your nearest Cashbuild store about its wide variety of wood stains and paint.