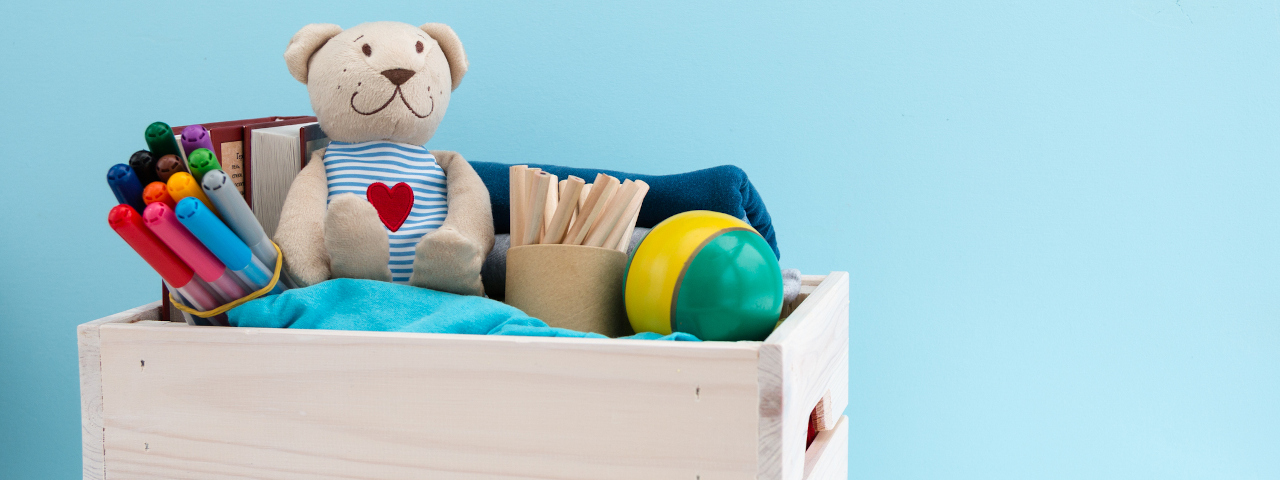
Create space by making a fun toy box that will clear the clutter - Cashbuild shows you how to do it quickly and easily
You'll find everything you need at Cashbuild - from a wide range of timber products to all the tools for the task.
You'll need
Three strap hinges and screws; 19 mm pine: 1 piece measuring 900x400 mm (base), 2 pieces 600x400 mm (sides); 2 pieces 938x600 mm (front and back), 1 piece 938x438 mm (lid); 40 mm wood screws; screwdriver (suitable for the type of screws used); sandpaper; wood glue or contact adhesive; damp cloth; 4 corner plate fixings; pencil; ruler/measuring tape; wood putty; sash clamp (optional)
To make
STEP 1
Check that all pieces have been cut to the right size and will fit together according to the illustration.
STEP 2
Put the 900x400 mm base flat on a work surface. Apply wood glue/contact adhesive to one side edge. Stand a 600x400 mm side panel upright against the glued edge of the base and attach firmly with four 40 mm wood screws evenly spaced along the bottom. Use a damp cloth to wipe away any excess glue that may seep out. Repeat with the other side panel. If you have a sash clamp, use it to keep the sides in place while fitting the front and back. Or ask somebody to hold the pieces while you work.
Apply wood glue/contact adhesive to the front edge of the base. Stand the 938x600 mm front panel upright along the base and the edges of the side panels. Attach firmly with six 40 mm wood screws evenly spaced along the front and four 40 mm screws up each side. Repeat with the back panel. Wipe away excess glue with the cloth.
Tip: Attach the corner plate fixings on the inside of the box at each corner join about 30 mm from the base to add strength.
STEP 3
Lay the 938x438 mm lid on top, making sure it's flush with all sides. Mark the midpoint of the back as well as 77 mm from each end. Measure and mark the corresponding points on the lid. This is where you'll attach the strap hinges. Screw the strap hinges in place. The lid must swing through a ¾ circle so it lies flat against the back panel for full access.
Tip: A pair of rope handles is great for moving the box. Simply drill two holes (about 1,3 cm in diameter) in the side panels. Thread rope through from the outside and tie knots on the inside. Casters will make it even easier to move the toy box.
STEP 4
Fill all the screw holes with wood putty and let it dry. Sand the entire box to remove rough edges and smooth the wood putty.
Speak to a consultant at your nearest Cashbuild store for more simple DIY tips and ideas for storage solutions to neaten your home. For more information call the Cashbuild Customer Care line on 0860-100-582.
To decorate
- You'll need primer, paint (or spray paint for faster, smoother application) in your child's favourite colour, stickers, stencils, stamps and/or decoupage items of your choice.
- Paint the outside of the box with primer. Allow to dry completely.
- Apply a base coat of paint and allow to dry. Apply a second coat if necessary.
- Have fun decorating the box.


